Mini Mayhem boys clothes

Showing posts with label Tutorial. Show all posts

Tutorial: how to paint glass louver windows


There is a place I love in Bali called Sea Circus.  Think mojitos and delicious ceviche as well as a truly gorgeous little fit out.  One of the sweetest bits is the brightly coloured glass louvers that run along the front of the restaurant.

Not happy just to get my coloured glass fix while on holidays, I wanted to bring this little pop of colour back home.  We have a panel of glass louvers in our bathroom that were a little on the m'eh side.  I was contemplating having some coloured glass cut when suddenly inspiration struck - why can't I just paint the glass??


Within an hour I had some gorgeous painted glass louver windows, thanks to a couple of ingredients that most of us would have already in the house.

Do you want to spruce up some glass at your place?  Then you will need:

- clear craft glue
- a paintbrush
- food colouring
- water
- a small bowl
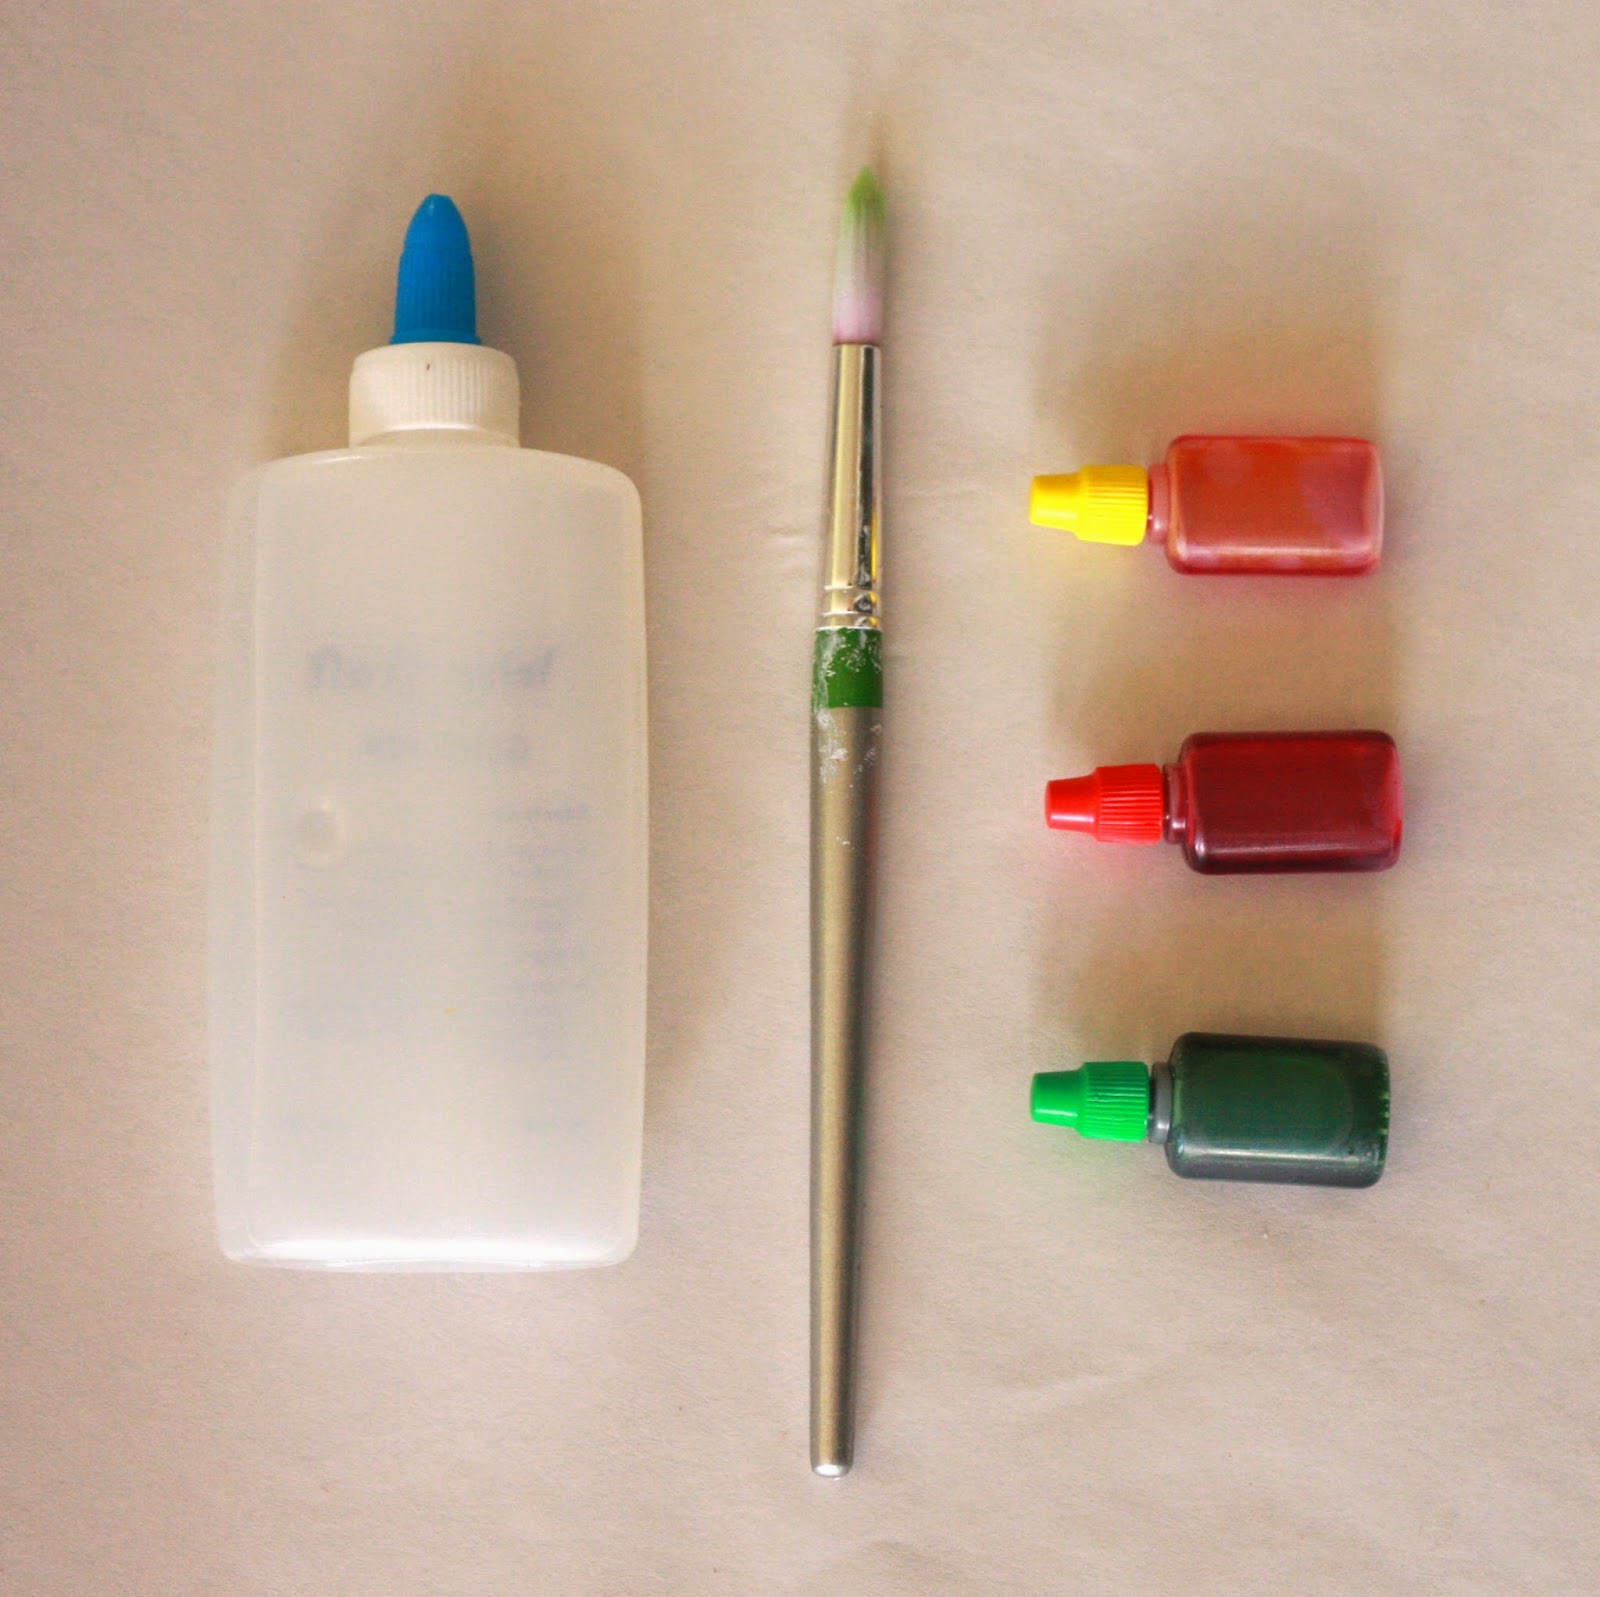
                          

I don't have a strict formula for how to mix the "paint" but as a general guide I used about a tablespoon of glue to three to four drops of food colouring and up to a teaspoon of water.

Then I just mixed it together before painting the mixture onto the glass pane.  My first attempt was a little too runny and resulted in a few streaks and drips.  After that I reduced the water by a little and in no time at all I had my whole panel of louvers painted.

I was over the moon with the result.  For zero dollars and less than an hour I had my very own slice of Sea Circus at home.  Now if I only someone could bring me some ceviche and a mojito or two!


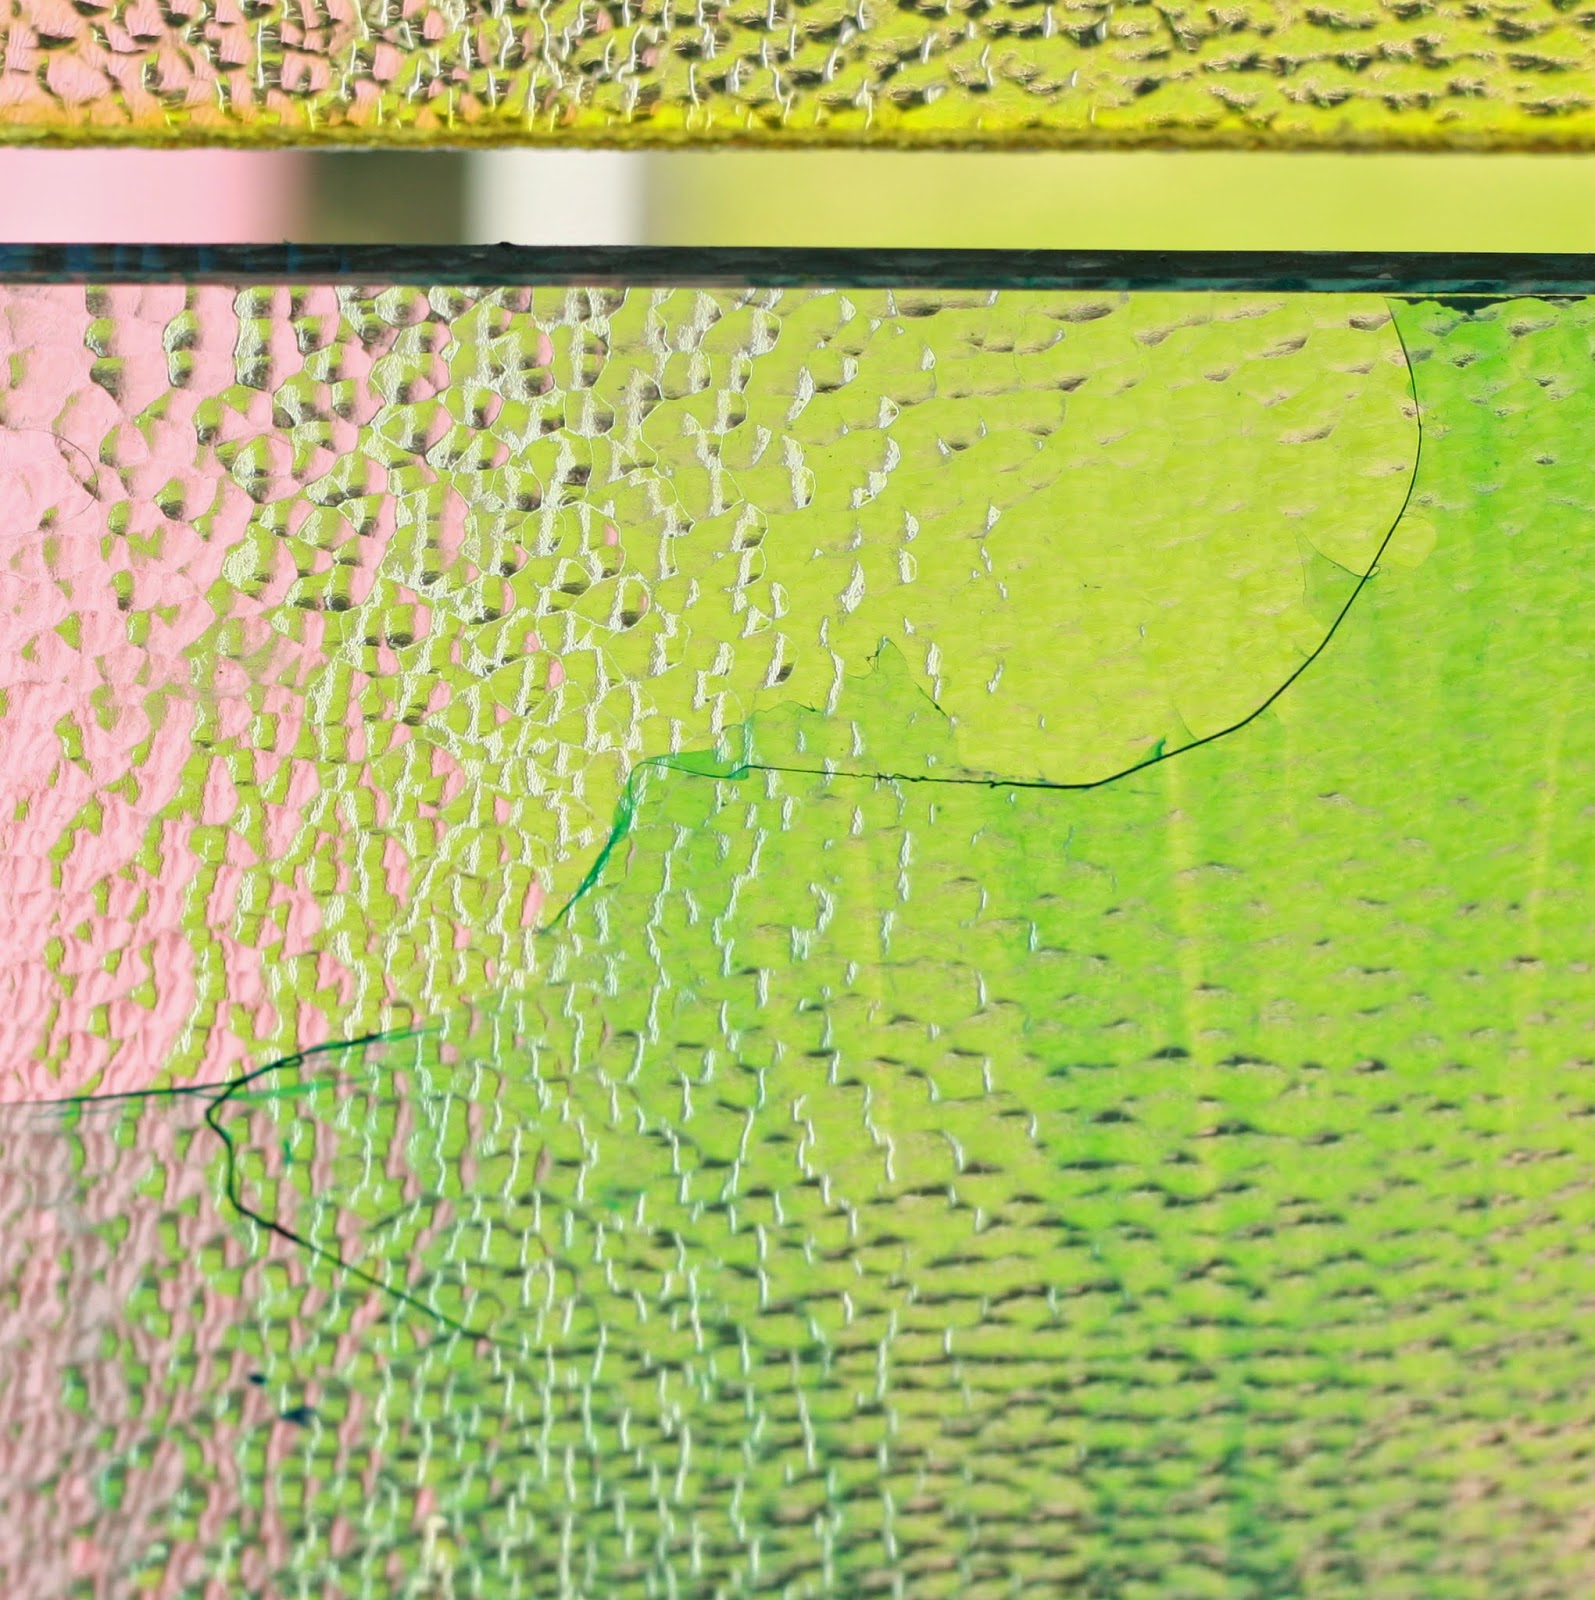
But what if you are renting and still want to paint your windows?  Or perhaps you're just not sure if brightly coloured windows are the look you'll be crushing on in 12 months?  Worry not, this isn't a permanent fix - the glue will just scratch or wear off.  Here is a shot of one of the louvers that I wanted to redo.  It was the first one I did and had a few streaks on it.  Just a quick rub of my thumb over the dry (by a few days) glue and the original glass was revealed.  

Obviously check your own windows before painting all of them in case the layer of dust and dirt on mine provided a different result.  

Tutorial: Reindeer nose gifts for friends


I had to put my thinking cap on this year for school friend gifts as our school has a no candy cane policy and his teacher is pretty tough on any sugar consumption (which is completely a good thing).

My original plan was to put together a little notebook and pencil for each kiddo so I headed off to the local cheap shop to find supplies.  It was there that inspiration struck...


Clown noses!!!!

Or as I saw them, Rudolph the red nosed reindeer noses!  

I whipped up a little picture and Christmas greeting to use as the backing board for Rudolph's nose.  You don't have to be a chronic over-achiever like me, I've made a printable for you so you can just download the PDF and print it out.  You can do that here.

Obviously you don't want yours to be from Oliver D so I've left the box blank for your kiddo to fill in their name.


All you really need to do once you've printed it out is to cut them up.


Then take a shot of all of your super cute shiny red noses lined up.  Oh wait, you don't need to do this, but it just looks so lovely that you may just want to.  Go on!


Then just carefully wrap your clown, I mean Rudolph nose around the card and you are done.  

Sure to get at least a few squeals of delight, this easy peasy pressie is a great sugar free Christmas gift alternative.  


*this printable may be downloaded for your personal use.  You may share this tutorial on your own blog but please credit www.minimayhem.com.au. Thanks for being so lovely. 

Tutorial: Styrofoam printing

Have you ever fancied trying out some printmaking with your little ones, 
but don't want to arm them with the sharp implements needed for lino printing?

Well happy days are here, because with some items you can probably find in 
your craft basket and a trip to the butcher, you and your littlies can be creating 
limited edition art prints in no time.


What you will need:

- poster/acrylic paints
- plastic plate
- pencil or skewer
- sponge roller or paintbrush
- brayer or your hands
- paper to print on 

And the secret ingredient: a styrofoam tray.  
Head to your local butcher, deli or fruit and veg store, 
ask nicely and you will nearly surely be rewarded.  


1. Cut the raised edges off your styrofoam tray leaving a flat surface. 
Ask your little one to draw a picture on the flat side of the tray using 
the pencil or a skewer.  The pencil may be a little tricky to draw into the
surface with at first but they will soon get the hang of it.
Make sure that they are making nice deep lines, otherwise their drawing
will not show up once it is printed.


2. Once your little artist is happy with their design, spread some paint
onto the plastic plate.  Then use your sponge roller to cover the entire 
design side of the styrofoam tray.  If you don't have a sponge
roller you can use a paintbrush to completely cover the tray.


 3. Carefully place a piece of paper onto the inked side of the styrofoam tray


4. If you are using a brayer, have your little one roll this over the paper
making sure that pressure is applied to the entire image.


5. If you don't have a brayer you can still achieve a good result by using
your hands.  Have your child use their hands to smooth the paper onto
the design.  It is probably a good idea to go over it with your bigger
stronger hands to make sure the image has transferred. 


6. Time to reveal your masterpiece.  Carefully peel the paper from the tray and 
you will hopefully see your design as a relief in the printed image.


 7.  Your little artist will be super chuffed with their efforts at printmaking!
Once you get the hang of this (and make good friends with your butcher) you
can make prints of all their gorgeous little drawings. 


Gak is great!


The weather in Brisbane has been pretty dang wet and soggy for far too long lately.  And rainy indoor days with children are kind of like dog years - they feel like they are seven times as long as they really are.

So what to do?  Well I'm as much a fan of Jimmy Giggle as the next mum (seriously, I mean the man is good with kids and easy on the eye - win!).  But even I can't stand too many more Peppa Pig episodes. Enter Gak.


What is Gak you say?  It is the cheap, slightly messy (but not too messy), fun sanity saver that we have all been looking for.  And I'm here to tell you how to turn a few household ingredients into at least one afternoon of fun.


What you need:

- PVA glue - the brand we bought was 236ml (as were all the others at the newsagent)
- 2 tsp borax
- food colouring
- warm water

Empty the entire bottle of glue into a bowl.  This in itself should buy you a few minutes of kid-tertainment.

Refill the empty bottle with warm water.  Give it a good shake to get the rest of the glue out and then empty it all into the bowl.

Now it is time for a a good stir to combine it and then you can add your food colouring.  Personally I think Gak should be green to give it that real Mad Scientist feel but any colour will do.

Pour 1 cup of warm water into a cup.  Then add 2 tsp of borax and stir it until it dissolves

Now for the fun!!  Add your dissolved borax mixture to the bowl and look out - instant stringiness.  Keep stirring for a bit then get your hands involved to squish it around and combine the liquid to the ever increasing gelatinous mass.

And just keep on playing.  Chuck it on a nice clean surface and grab a few cookie cutters or dinosaurs and give yourself a pat on the back for keeping the kiddos amused without the TV.

A word of warning.  You might be wondering from the pics if we are a bunch of nudists.  Thankfully not.  But this stuff is not the friend of fabric.  If you don't live somewhere toasty warm you might want to pop on some old clothes.  And definitely keep it away from your lovely white shag rug.  It wouldn't be fun cutting a big chunk of gak out of that.  Trust me.


Tutorial: contact paper stencil printing


Ever fancied printing up your own t-shirt design ideas at home?  Well check out this tutorial we have done for 'Handmade Kids' showing you how to make stencils using that contact paper you've got kicking around in the cupboard.


Click here for the link:
Contact paper stencil tutorial